Sunday, January 19, 2014

Vegan, Raw Chocolate Peanut Butter Pie


So, like I said, I've been eating a mainly vegan diet lately.
Well, I really thought this meant I would have to kiss desserts (ones that actually tasted good anyway) goodbye...NOPE!
Now, I've had some raw desserts and I've had some vegan desserts and both kinds tasted...
ya know...like dirt, mostly. 
BUT THIS, this dessert blew my socks off!


 Looks like a pond of chocolatey goodness.

*This is a totally raw dessert, so no oven needed. Just a little microwaving action*


Crust Ingredients: 
2 Cups Almond Flour
1/4 Cup Coconut Oil (melted)
2 Tbsp. Agave

Mix all of these ingredients together and press into a greased, spring-form pan.

(I used coconut oil to grease the pan)
Make sure to smooth the crust out so the filling is nice and even then pop that into the fridge until you are ready for it.


Peanut Butter Filling Ingredients:
I Cup Nut Butter (I used organic peanut butter)
1 Tbsp. Agave
1 T. Vanilla
1 T. Salt

Mix all of these together in a small bowl and microwave for 1 minute or until runny-ish.
Pour peanut butter mixture over cooled crust and place it back into the fridge.

Chocolate Topping Ingredients:
2 Cups Vegan Choc. Chips(melted)
1 Cup Almond Milk
1/4 Cup Coconut Oil(melted)
2 Tbsp. Cocoa Powder
1 T. Salt


Mix all of the chocolate ingredients together and pour over the cooled crust and peanut butter filling. Sprinkle some chopped peanuts on top and place it in the fridge until set. 

(this took about an hour for me)

After the pie has set up, remove the rim of the spring form pan off and cut the pie into slices.
Serve it alone or with a giant glass of chocolate almond milk!
Vegans unite and enjoy!!


Thursday, January 9, 2014

Mexican Quinoa Salad with Avocado Honey Lime Dressing (*vegan*)


Ok, so, like I said, I'm trying to eat vegan.
Well, I think this has become my new vegan comfort food.
I am ADDICTED to this stuff.
It has classic Mexican flavors, is totally creamy and is loaded with veggies and good for you stuff.


This is a cold salad and needs some time to sit in the fridge after putting it together!
(I gave it about an hour)


Before starting the dressing, cook the 1 1/2 cups of quinoa in a medium sauce pot with 3 cups of salted water (a couple teaspoons of salt).
Bring the water to a boil, add the quinoa, place the lid on the pot and reduce the heat. Let the quinoa simmer for about 20 minutes or until all of the water has been absorbed.
Set aside in a large mixing bowl to cool.


Avocado Honey Lime Dressing Ingredients:
2 Avocados
I Jalapeno- de seeded and roughly chopped
Juice from 1 Lime
3 Tbsp. Honey
2 Tbsp Cilantro
1 Tbsp. Chili Powder
1 T. Garlic Powder
2 T. Salt

In a food processor, corsely chop the de seeded jalapeno and cilantro, then add the avocados and blend until they turn into a smooth paste. Add the Lime juice, honey and seasonings; blend until the dressing is smooth with no lumps.
Place in the fridge until ready to use.

Salad Ingredients:
Cooked Quinoa
2 Cups Frozen Corn- thawed
2 Tomatoes- chopped
1 Can Black Beans- drained, rinsed and dried
1 Can Green Chilies
1/2 Onion- finely chopped


Those are some good lookin beans.

On top of the cooled quinoa, dump all of the ingredients above and combine well.


Once combined, pour the avocado honey lime dressing on top and, again, combine well and place the entire salad into the fridge for at least an hour.


After the salad has chilled, serve!
I eat this as a main dish, but my husband loves to use it as chip dip!


*If you aren't vegan, I suggest adding some crumbled Queso Fresco on top before serving*

Tuesday, January 7, 2014

Creamy Vegan Mushroom Soup


This year, I'm starting a new adventure!
I am trying my best to stick to a vegetarian diet and I'm even trying to eat vegan for most meals!
Since it is winter and freezing though, I have been mad craving comfort food!!
So...in my attempt to eat healthy, but still satisfy my cravings, I have created a vegan alternative to canned creamy mushroom soup...and I must say...it's pretty darn good...if not better than canned!

(In this recipe I added drop biscuits made from Bisquick and milk and some spices...you can make your biscuits vegan or just omit them all together, but they really added a little something extra and yummy to this soup!)


Soup Ingredients:
32 Fl. Oz. Vegetable Stock
16 oz. Mushroom
2 cans Cannellini Beans (do not drained)
4 Cups Spinach (roughly chopped)
I Onion (chopped)
4 Cloves of Garlic- finely chopped
3 Tbsp. Whole Wheat Flour
3 Tbsp. Worcestershire Sauce
2 Tbsp. Olive Oil
salt and pepper to taste

*optional*
Drop Biscuits:
2 Cups Bisquick Mix 
3/4 Cups Fat Free Milk
pinch Parsley
pinch Oregano 
pinch Salt

Start by heating a large pot on medium over the stove, add the olive oil, garlic, onions and a pinch or two of salt. Cook the onions and garlic until the onions are translucent.

Add half (8 oz) of the mushrooms (chopped) to the pot with the onions and garlic.

In a food processor, mix together the other half of the mushrooms, flour, 3-4 tablespoons of the vegetable stock and season with salt and pepper.
Once the mushrooms are smooth and paste-like and the mushrooms in the pot have released some of their liquid, add the paste to the pot and cook for 5-7 minutes on medium, stirring often so the flour does not burn.

Add to the pot the canned beans and cook for another 5 minutes.
Dump the rest of the vegetable stock into the pot and bring to a boil.
Once the stock is boiling, throw in all of the spinach and put the lid on the pot until all of the spinach is wilted (this should not take long at all...don't leave the pot or it might boil over!).
Stir the spinach into the rest of the soup and add the Worcestershire and a couple teaspoons of salt and pepper.
If you are adding the drop biscuits, now is the time!
In a separate bowl, mix together the Bisquick, milk and spices, then, using a spoon (or your fingers, like I did) take about a tablespoon at a time of the dough and drop it into the pot!

Cover the entire top of the soup with biscuit dough.
Put the lid on the pot and let it simmer on medium low for at least 20 minutes before serving!
**If you are not adding the biscuits, you should still allow the soup to simmer on medium low for twenty minutes before serving to allow the flavors to come together!**

Serve and enjoy!!
Comforty goodness.


Sunday, January 5, 2014

Guac!


Guacamole is one of my favorite "condiments" to make!
(I'm not sure if Guac counts as a condiment, I just know I love to put it on EVERYTHING)
Full of fresh veggies...and loaded with CHEESE, I think Guac should be the favorite food of 2014!

Look at these pretty colors!


Guacamole Ingredients:
3 Avocados (mashed)
2 Tomatoes (diced)
1/2 Onion (finely chopped)
Juice from 1/2 a Lime
1 1/2 Cups Mexican Cheese
1 Can Green Chilies
2 Tbsp. Mayo
1 Tbsp. Chili Powder
2 T. Garlic Powder
1 T. Honey
1 T. Cayenne 
Salt to taste

This is a super easy dish/side to make
and it's one of those foods your little ones can help with!
I chop all the veggies up and put all the spices in a bowl and then let my son put it all together for me.

And just about every food under the sun tastes better with some Guac on it!


Mash the avocados well, then add the mayo and chopped/diced veggies and mix well!
Next throw in the can of chilies, stir some more and add all the spices.
The cheese should be last, just before you serve it!

TA DA!

Enjoy.

Eggnog Fudge


Looks like a pool of happiness, doesn't it?
It was.
And I don't even like white chocolate!!


Eggnog Fudge Ingredients:

Wednesday, December 18, 2013

Christmas Cookies!


Who doesn't love this time of year?
With all the sparkly lights, the fluffy white snow, seeing all 176 of your relatives and of course, the YUMMY Christmas treats everyone seems to be cooking up this time of year.
This really is the most wonderful time of the year!

Now, let's make the most wonderful, simple sugar cookies!
(with a colorful twist)


Sugar Cookie Ingredients:
2 1/4 Cups Flour
1 Cup Butter (room temp)
1 Cup Sugar
1 Egg
1 T. Vanilla
1 T. Baking Powder
1/4 T. Salt

(and a few drops of food coloring- red and green)


Preheat your oven to 375 degrees.
Bake time: 8-10 minutes.
Makes about 2 dozen!

Beat the softened, room temperature butter until it is cream, then add the sugar, baking powder and salt and beat it some more! I always whisk by hand and this took me 2-3 minutes to get it nice and fluffy.
Next, add the egg and vanilla and beat the dough again.
Slowly begin to add the flour, about 1/2 a cup at a time.
You might have to use your hands to kneed the last little bit of flour into the dough, since it will get harder and harder as you add more flour.


Now, split the dough in half and add 5-6 drops of red food coloring into one half and 3-4 of green into the other half!
(I used more red because I didn't want my dough to look pink)
Kneed and kneed until the food coloring has been evenly distributed throughout the dough!
(it got a bit messy)

Wrap each half in plastic wrap and pop them into the freezer for an hour.

Once the dough has hardened a bit, it should look like this!
Now you can roll it out and start cutting your shapes!

oooooor
You can roll out each color and lay one on top of the other, roll them up and then cut them up into cookies!

Like this:
(we only did this with half of each color so we could still cut out Christmas shapes and decorate them)

I sprinkled the top of the spiral cookies with some course sugar!

Looks pretty Christmassy to me!

With the rest of the dough we made Christmas shapes to decorate!


 My little helper in the kitchen!


Santa is watching you!!
Merry Christmas!


Wednesday, December 11, 2013

Coffee Cupcakes with Maple Bacon Butter Cream


So for my hubby's birthday,
 I decided to go a little crazy and experiment with some of his favorite flavors!
Bacon.
Who doesn't love bacon??

Well, my husband sure does.

I think I've made him bacon flavored something for every special occasion and holiday for the last 2 years!
Candied bacon, chocolate covered bacon roses, bacon cupcakes...
just to name a few.

These cupcakes were amazing. The coffee and bacon worked magically together and the maple made it taste just a little breakfasty!


Preheat your oven to 350 degrees and fill a cupcake pan with cupcake papers.
(I sprayed the pan with Pam before putting in the cupcake papers)

Coffee Cupcakes Ingredients:

2 Cup Flour
1 Cup Sugar 
(I used pure cane sugar, you don't have to)
1 Stick Butter
2 Eggs
3/4 Cup Coffee
(I used dark espresso roast)
1 T. Baking Powder
1 1/4 T. Baking Soda
1 T. Salt


In a large bowl, mix together the flour, baking soda, baking powder and salt and set aside. 
In a separate bowl, whisk together the softened butter and sugar until they are fluffy.  
 (I know fluffy isn't a technical term...but they look...ya know, fluffy once they are whisked for a couple of minutes...)

(Mine looks a bit grainy because of the sugar I used)

This stuff.


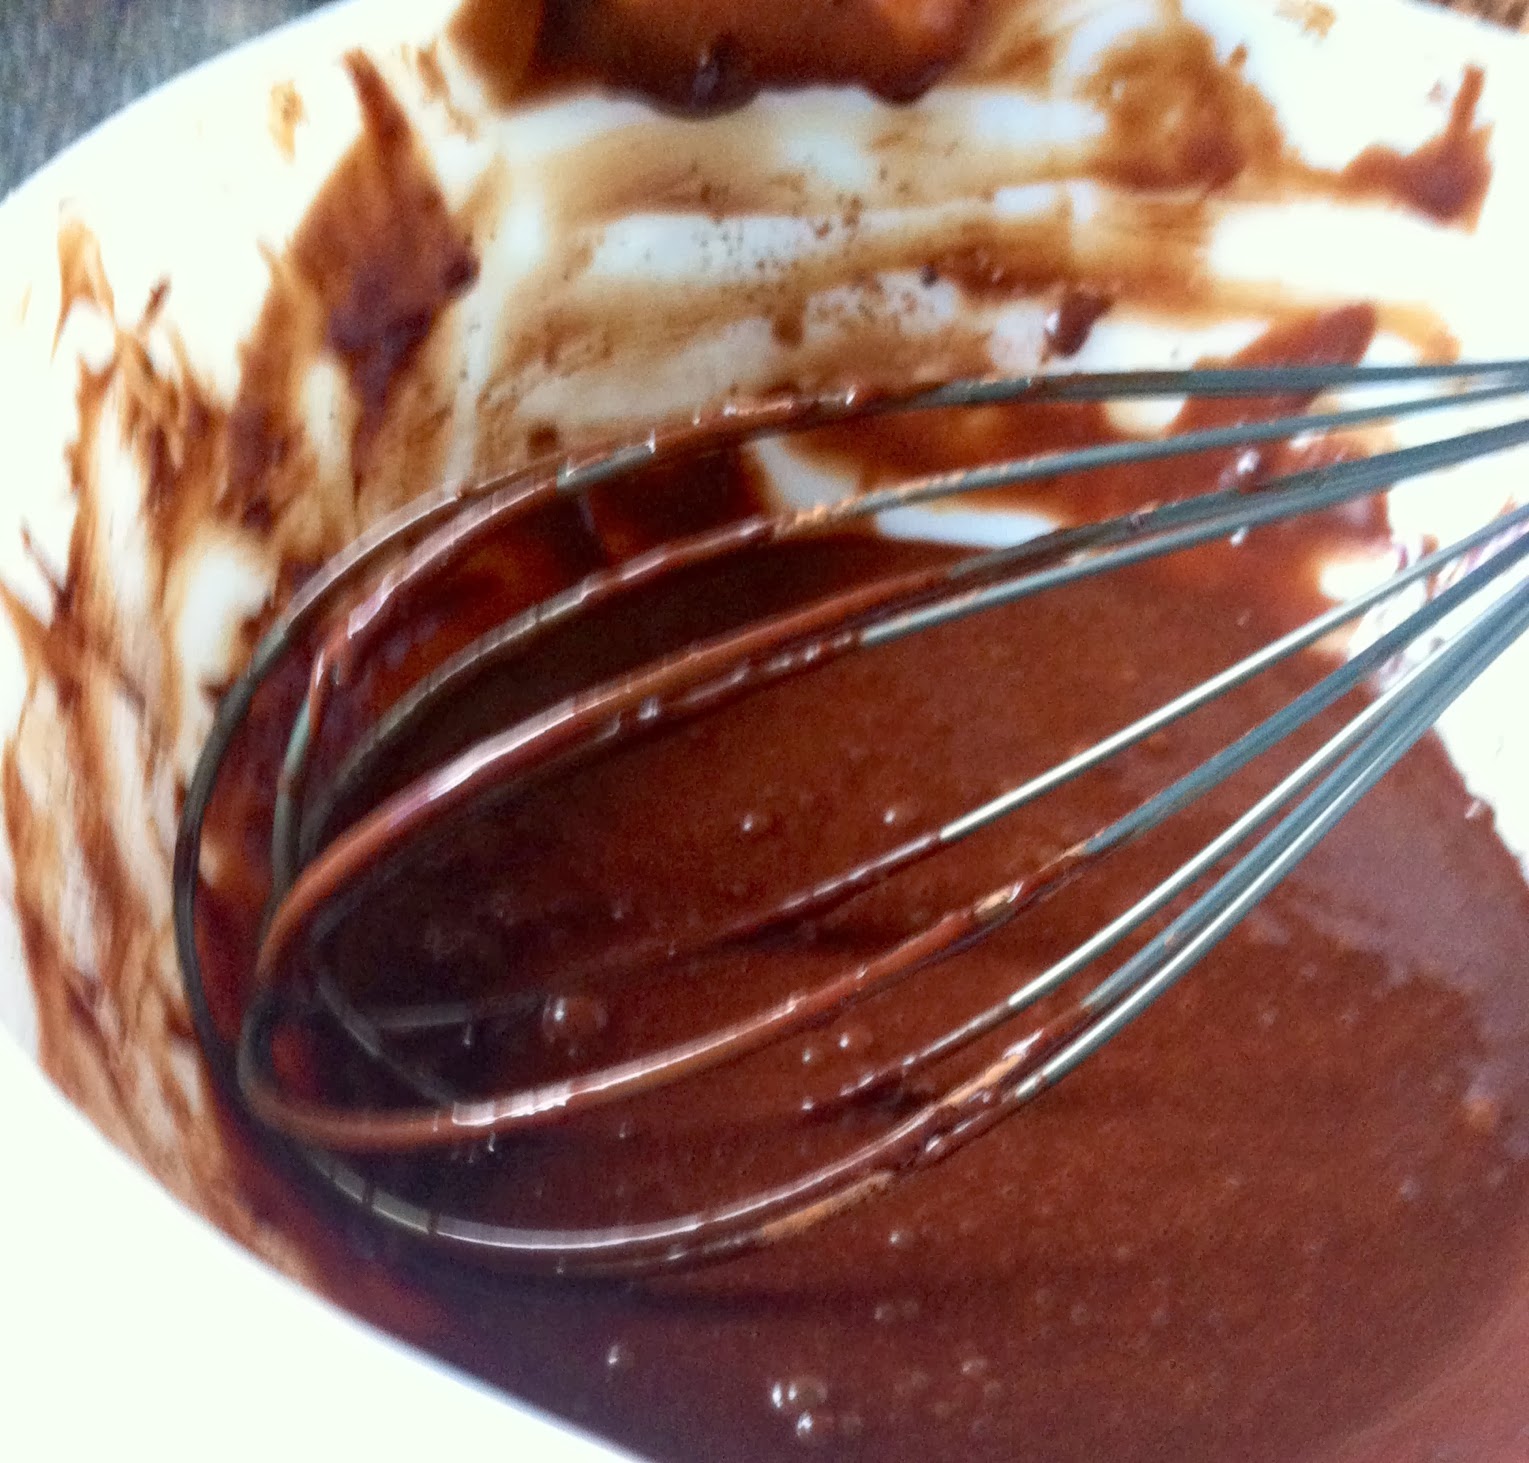
 To your fluffy butter and sugar mixture, add the eggs one at a time and whisk.
Slowly add the flour mixture to the wet mixture (about a half a cup at a time).
Once you've evenly incorporated the two, slowly begin to add the coffee, stirring the whole time, make sure to get rid of all the lumps!

Pour your cupcake batter into each cupcake paper very carefully! 
(you don't want to get any under the papers or on the pan itself!) 

Pop those into the oven for about 25 minutes.

______________________________________________________________


While you are waiting for your cupcakes to bake, you can start frying up some bacon for your icing!
I used about 9 slices for 24 cupcakes, if you'd like a little more for the topping, you can fry up more than that.

Maple Bacon Butter Cream:

1 1/2 Cups Confectioners Sugar (Powdered Sugar)
1/3 Cup Maple Syrup
3 Tbsp. Softened Butter
1-2 T. Bacon Drippings

Once your bacon has gotten nice and crispy, put it into a strainer with a bowl underneath.
Make sure you keep the drippings, you're going to need those later!

To the 1 1/2 Cups of Powdered sugar, you're going to add the Maple syrup and softened butter and beat the mixture until it is nice and smooth. It should still be a little stiff. 
The bacon drippings should loosen it up a bit. If you need to add more than 2 teaspoons, go ahead! You want the butter cream icing to be soft and smooth, but not runny and not too thick. 

(you can stick the icing in the fridge until your ready for it)

After your cupcakes are done baking and have cooled for at least 20 minutes outside of the cupcake pan, You can start icing them!
I buy those disposable icing bags and have a bunch of metal tips laying around my house...if you don't have that, I've actually stuck my icing into a Ziplock bag before and cut off the very tip of one of the corners!
It won't look fancy, but it's a super easy/cheap trick!!

Ice those suckers with about a tablespoon/tablespoon and a half of the butter cream.

Now you can crumble up your cooked bacon all over the top and BAM! 
Thee best bacon treat you'll ever eat.


You're Welcome.